You’ve probably noticed the buzz around brow lamination, and transforming your brows at home might be tempting. It’s an intriguing way to achieve that polished, fuller look without heading to a salon. But before you pick up a DIY kit, consider what’s involved. Are you prepared to navigate the nuances of application and aftercare? Understanding the benefits, risks, and step-by-step process is vital for success. There’s much to uncover about how to make brow lamination work for you right in the comfort of your home. Want to know more?
Key Takeaways
- DIY brow lamination kits cost around $55 and provide up to five sessions, making it cost-effective compared to salon treatments.
- The process involves shaping, applying a perming solution, and neutralizing for fuller, more defined eyebrows.
- Results from at-home brow lamination can last up to six weeks with proper aftercare.
- Keep brows dry for 24 hours post-treatment and use a nourishing serum nightly for optimal results.
- DIY offers convenience and flexibility, allowing you to tailor brow styling to your preferences at home.
What Is Brow Lamination?
If you’ve been dreaming of fuller, more defined eyebrows, brow lamination might be the solution you need. This beauty treatment involves straightening and perming your eyebrow hairs to create a fuller, more uniform look. Lifting and setting the eyebrows in your desired shape gives the appearance of thicker, fluffier brows. Whether your brows are naturally thick or thin, brow lamination offers a versatile solution that suits different eyebrow types.
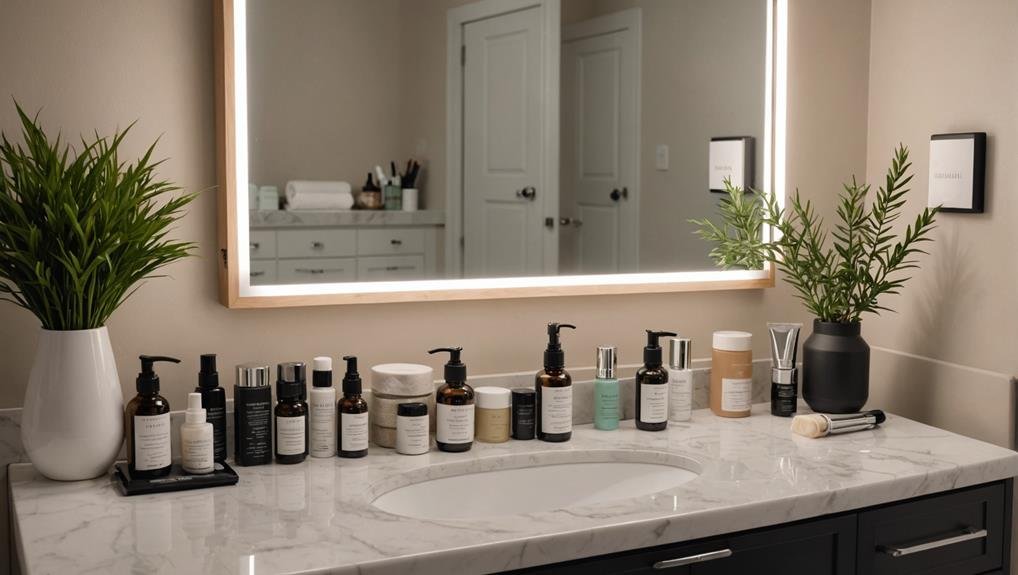
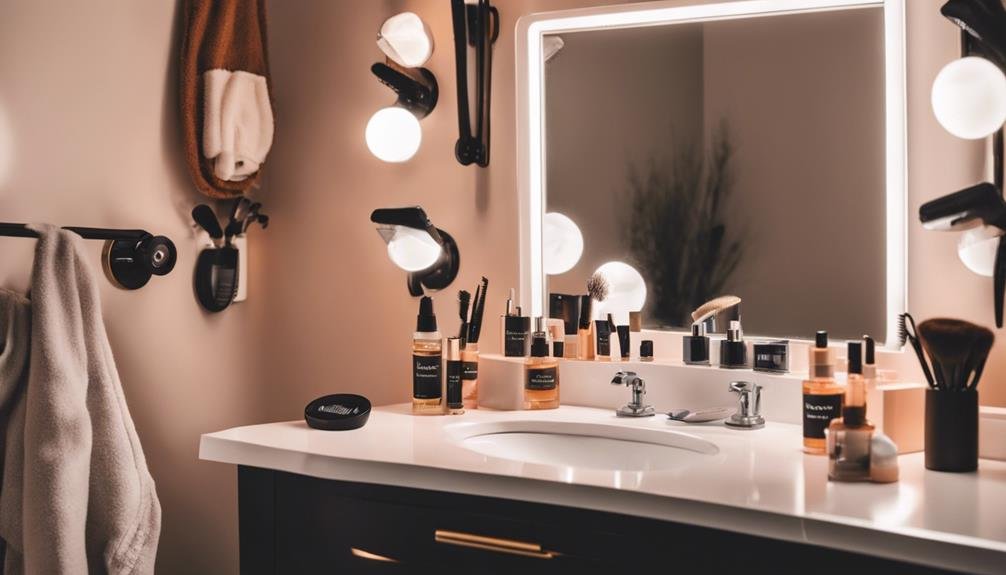
You might think achieving salon-quality brows at home is impossible, but that’s where an eyebrow lamination kit comes in. These at-home brow lamination kits provide everything you need to transform your brows conveniently and cost-effectively. With these kits, you can skip salon visits and enjoy professional results.
The results of brow lamination can last up to six weeks, aligning with a full brow growth cycle, so you won’t have to worry about frequent touch-ups.
Benefits of DIY Brow Lamination
DIY brow lamination is a cost-effective beauty solution that lets you achieve salon-like results without breaking the bank.
You can customize your brow styling to suit your preferences, whether you aim for a fuller, fluffier look or a sleek, defined shape.
This approach allows you to tailor your brow transformation to match your unique style and facial features.
Cost-Effective Beauty Solution
With rising beauty costs, DIY brow lamination emerges as a cost-effective solution for achieving salon-quality results at home. Investing in an at-home kit, which costs about $55, allows you to perform up to five sessions of brow lamination. This costs roughly $11 per session, a significant saving compared to the $80-$140 typically charged by salons. You can achieve professional-looking brows without breaking the bank.
DIY brow lamination offers long-lasting results. Each session can last up to six weeks, which aligns with a full brow growth cycle. This means you won’t need to refresh your brows frequently, further stretching your dollar.
Whether you have thick or thin brows, the at-home kit provides a versatile solution that caters to different brow types and offers a fuller, fluffier appearance.
Many users find great value in doing their brow lamination. Not only do you save money, but you also enjoy the convenience of enhancing your brows whenever it suits you. By opting for DIY brow lamination, you maintain beautiful brows while effectively managing your beauty budget. Enjoy the confidence of salon-quality brows without the hefty price tag.
Customizable Brow Styling
While salon visits can be time-consuming and costly, customizing your brow styling at home offers flexibility and personalization. DIY brow lamination provides a fantastic way to achieve your desired lifted, fuller, and fluffier eyebrows. Whether you have thick or thin brows, this method caters to your specific needs, delivering a natural look lasting up to six weeks. Using a DIY kit, you can achieve results that rival professional brow lamination, all from the comfort of your home.
One of the greatest benefits of DIY brow lamination is the control it gives you over your eyebrow hairs. You can style them according to your preferences, ensuring your brows perfectly complement your facial features. The versatility of DIY kits allows you to explore different styles and shapes without committing to a single look.
Plus, with proper application and aftercare, you’ll find it’s a cost-effective and rewarding beauty treatment.
Ultimately, DIY brow lamination empowers you to take charge of your beauty routine. By skipping the salon, you save time and money while enjoying the benefits of professional brow lamination tailored just for you.
Preparing Your Brows
Before you start your brow lamination at home, apply a protective barrier like Vaseline or Aquaphor to shield the skin around your eyebrows.
Shape your brows according to your preference, and ensure you have all the essentials from your kit ready.
Carefully follow the instructions provided to guarantee a smooth and successful process.
Protective Barrier Application
To prepare your brows for at-home lamination, apply a protective shield like Vaseline or Aquaphor around them. This step is essential as it prevents the perming solution from touching your skin, which can irritate you. Establishing a boundary between the solution and your skin reduces the risk of adverse reactions. Make sure the protective shield covers every area near where the perming solution will be applied.
Next, carefully shape your brows to achieve even coverage and the desired look. However, don’t jump into shaping techniques just yet. Focus on using the protective shield to safeguard your skin before applying the perming solution.
Here’s a quick reference table to guide you:
| Step | Action | Purpose |
|---|---|---|
| 1 | Apply Vaseline or Aquaphor | Protective shield |
| 2 | Ensure thorough coverage | Avoid skin irritation |
| 3 | Shape brows before solution application | Even coverage and desired look |
Brow Shaping Techniques
During the brow lamination process, shaping your eyebrows is essential for achieving the perfect look. Before you apply any products, take some time to define your desired brow shape. This will help guarantee that the brow lamination highlights your natural features.
Removing stray hairs outside your preferred brow shape using tweezers or a brow razor. Be careful not to over-pluck, as fuller brows work best with lamination.
Once your brow shape is set, safeguard the surrounding skin with a layer of Vaseline or Aquaphor. This creates a barrier to prevent irritation from the lamination products.
Follow the instructions in your at-home kit closely for the best results. Each step requires precision, from applying the perming solution to using the neutralizer. Thoroughly eliminate any residue after each application to avoid adverse reactions.
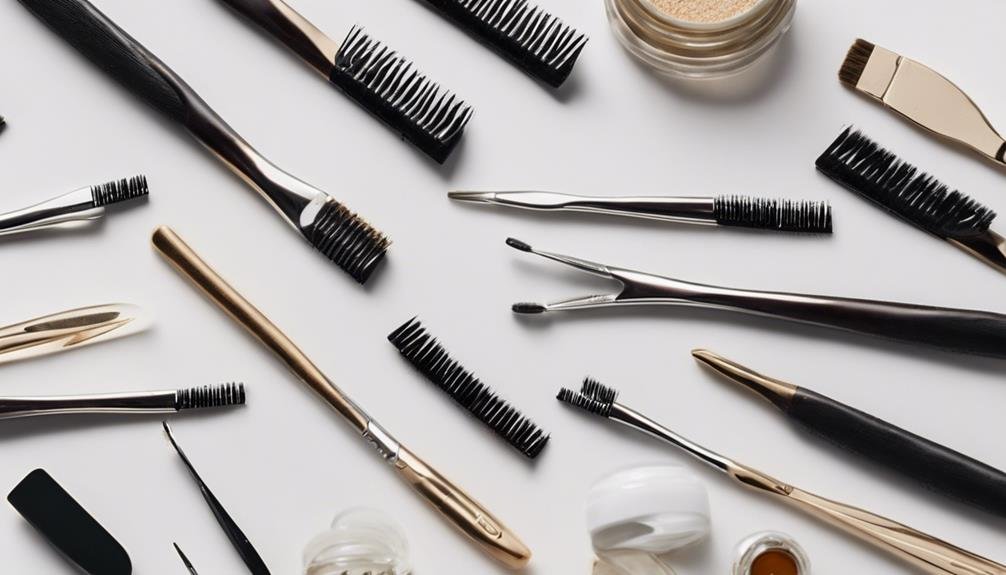
Kit Preparation Essentials
Gathering all the essentials in advance is important when preparing your brows for lamination, guaranteeing a smooth process. Start with a reliable brow lamination kit, which includes everything you need for the procedure. Before diving in, ensure you have a protective barrier like Vaseline or Aquaphor. This will help shield the skin around your eyebrows from potential irritation that the perming solution might cause.
Next, shape your brows as desired before starting the lamination. This step is essential because once you apply the perming solution, your brows will be set in your chosen shape.
Follow the detailed instructions provided in your brow lamination kit closely. Each kit is slightly different, so adhering to the specific guidelines ensures the best results.
After applying the perming solution, use the neutralizer included in the kit. The neutralizer stops the chemical process and locks your brows in the desired position.
After each step, thoroughly remove all residues of the treatment products. This prevents any unwanted reactions and guarantees your skin stays healthy. With preparation and attention to detail, you can achieve beautifully laminated brows at home.
Step-by-Step Application
Start by creating a protective barrier around your eyebrows using Vaseline or Aquaphor, which helps prevent any irritation from the perming solution. Once you’ve set this up, carefully shape your brows as desired, ensuring they’re in the perfect position before starting the brow lamination process. Ensure you’ve got your at-home kit handy, as you’ll need to follow its specific directions for the best results.
Here’s a quick step-by-step guide to get you started:
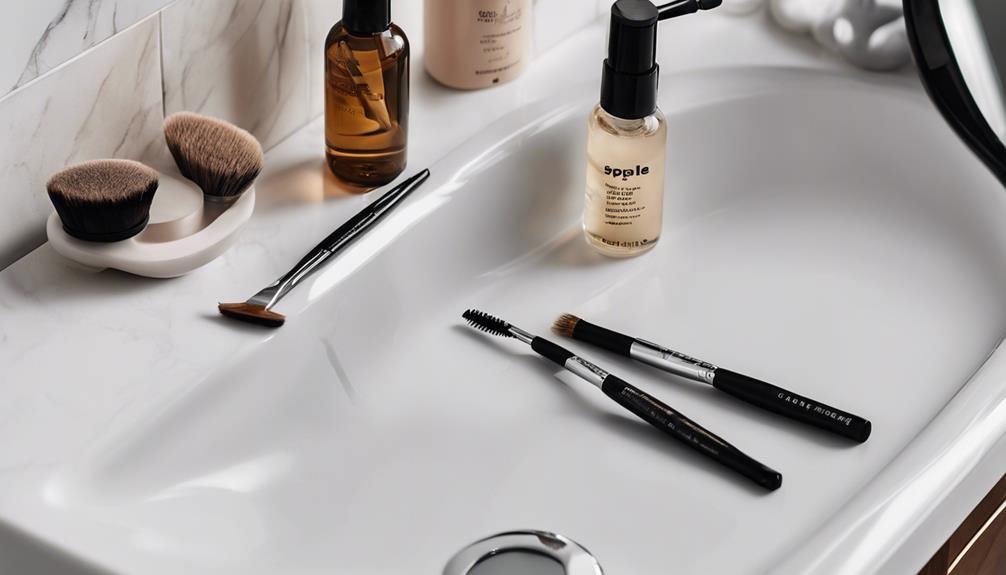
- Shape and Prep: Before applying anything, shape your brows using a spoolie to direct the hairs exactly how you want them.
- Apply Perming Solution: Use the applicator from your kit to distribute the perming solution evenly. Be sure to cover all the hairs, but avoid oversaturating.
- Set the Timer: Follow the timing instructions provided in your kit closely, as leaving the solution on too long can damage your brows.
- Neutralize and Clean: Use the neutralizer included in the kit to halt the perming process. Afterward, thoroughly remove all treatment residues to secure a clean finish.
Aftercare and Maintenance
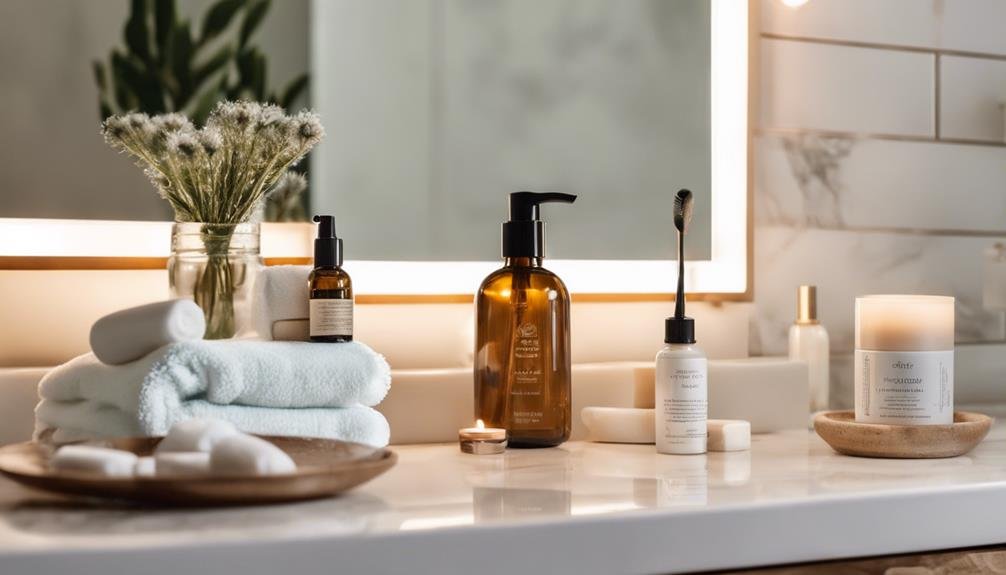
The first 24 hours after your brow lamination are necessary for ensuring the treatment’s longevity. Keep your eyebrows dry during this period to allow the lamination to set properly. Water or moisture can affect the results, so avoid swimming or sweating. This initial care sets the foundation for effective at-home maintenance.
After the first day, it is important to incorporate the nightly use of a nourishing oil or serum. Products like brow serums or castor oil can keep your eyebrows hydrated and maintain their fullness. These help keep your brows nourished, promoting healthy hair growth post-treatment.
Remember to wait at least six weeks before redoing your at-home brow lamination. This timeframe allows your hair growth cycle to complete, preventing damage from over-processing. Frequent lamination can weaken the hair, so giving your brows time to recover and grow naturally is necessary.
Comparing DIY Vs. Professional
Choosing between DIY and professional brow lamination can feel like a balancing act between cost, convenience, and desired results. Here’s a breakdown to help you decide:
- Cost: Professional brow lamination can save you $80-$140 per session. In contrast, at-home kits like Diablos Brow Lift are priced around $55. They provide materials for five sessions and reduce your cost to about $11 per session, making them a more budget-friendly option.
- Results: Professional lamination may be the way to go if you’re after a dramatic transformation. While DIY results from at-home kits offer a subtle lift and fluff, they mightn’t achieve the same impact. However, they deliver fuller, natural-looking brows that many users find satisfying.
- Convenience: At-home kits offer the flexibility to laminate your brows on your schedule. You skip the salon appointment and can perform the treatment in the comfort of your own home.
- Maintenance: The DIY approach requires regular styling to maintain the look, as the results are temporary. Despite this, many find the convenience and affordability of at-home kits like Diablos Brow Lift worthwhile for maintaining their desired brow style.
Safety Tips and Risks
While considering the convenience and cost of DIY brow lamination, it’s important to weigh the safety tips and potential risks. First, remember that if brow lamination is done correctly, it’s relatively painless. However, beginners should exercise caution to avoid unnecessary side effects. Always follow the specific directions in the at-home kit to guarantee a safe application process. This helps minimize complications, like irritation or damage to your brows.
One potential risk is the burning sensation and unpleasant smell often associated with at-home brow lamination. These can be alarming, especially if you’re new to the process. If you’re uncertain about the lamination process, opting for sculpting wax might be a safer alternative. It offers similar styling benefits without some of the harsher chemicals involved in lamination.
For those just starting, seeking professional guidance is highly recommended. This can give you the confidence and knowledge to laminate your brows successfully without mishaps. Being aware of these tips and potential risks guarantees that your DIY experience isn’t only cost-effective but also safe and satisfying. Always prioritize safety when using any at-home kit.
User Experiences
Many users find at-home brow lamination kits to be an effective way to achieve fuller and fluffier eyebrows. If you’re trying it out for the first time, you might be pleasantly surprised at how your eyebrows look afterward. While they’re not exactly like a salon treatment, they offer a convenient alternative. Here’s what users often highlight:
- Affordability: At-home kits are much cheaper than professional treatments, making them a great option for budget-conscious beauty enthusiasts.
- Convenience: You can perform the treatment in the comfort of your home, saving travel time and the hassle of booking an appointment.
- Satisfaction: Many users appreciate these kits’ natural enhancement, noting that their eyebrows look more groomed and styled.
- Maintenance: Post-treatment care is essential. Regular styling helps maintain the fluffy look, though the results may not last as long as a salon service.
Most users express satisfaction with their at-home brow lamination experience, pointing out that the subtle results offer noticeable improvement.
Despite the need for ongoing maintenance, the combination of value and convenience makes these kits popular for those looking to enhance their brows naturally.
Product Recommendations
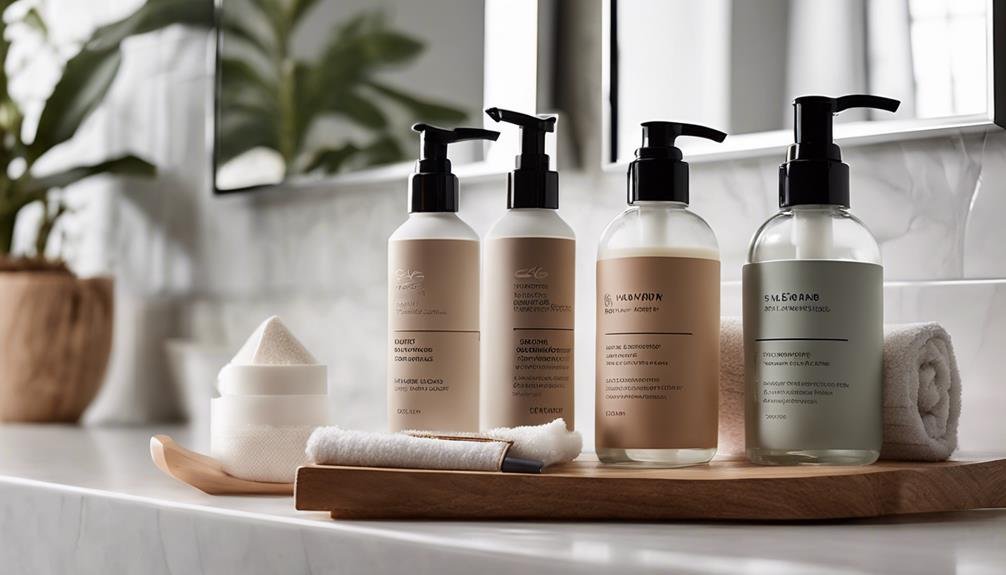
Luxe Cosmetics offers a highly recommended option with their Brow Lamination Kit for those seeking to enhance their brows at home. This kit is perfect for anyone looking to achieve perfectly sculpted brows without the hassle of salon visits. If you’ve been longing for a brow lift that provides natural fullness, this kit delivers just that. It’s ideal for thin or flat eyebrows, giving them a defined shape that lasts up to 8 weeks.
The Luxe Brow Lamination Kit makes the process straightforward, allowing you to apply it easily at home or with a friend. You won’t need to worry about microblading sessions or the potential risks they carry. Instead, enjoy the convenience and safety of a risk-free trial at home. Luxe Cosmetics uses natural, dermatologically tested ingredients, ensuring their products are vegan and cruelty-free. This commitment to quality results in high customer satisfaction, making it a trustworthy choice for brow lamination.
With Luxe’s kit, you’re not just getting a product but investing in a solution that transforms your brows into a statement of elegance and style.
Conclusion
By choosing to do brow lamination at home, you’re taking control of your beauty routine and saving money. You can achieve salon-quality results without leaving your house with the right kit. Follow the steps carefully, be mindful of safety tips, and enjoy your new, fuller brows. Whether you’re looking for convenience or a touch of creativity, DIY brow lamination offers a personalized and satisfying experience. Now, go ahead and flaunt those stunning brows with confidence!
FAQs
What is brow lamination, and can it be done at home?
Brow lamination is a semi-permanent treatment that lifts and sets brow hairs in place for a fuller, more defined look. With a few essential tools and careful technique, brow lamination can be done safely at home. This DIY approach lets you achieve fluffy, lifted brows without visiting a salon.
Key Points:
- Semi-permanent treatment for fuller, lifted brows
- This can be done at home with the right tools
- Creates a groomed, fluffy brow effect
How do I perform brow lamination at home?
To laminate brows at home, start by cleansing the brows and brushing them upward. Apply a perm solution to set the hairs in place, then cover with plastic wrap for the recommended time (usually 8-10 minutes). After that, apply a neutralizer to lock the shape, let it sit, and finally, apply nourishing oil to condition the brows.
Key Points:
- Cleanse and brush brows upward
- Apply perm solution, cover with plastic, and wait
- Apply neutralizer, then nourishing oil to condition
What are some safety tips for at-home brow lamination?
Always follow instructions on the lamination kit carefully to avoid irritation. Do a patch test before using any products, and avoid leaving solutions on longer than recommended. Use gentle products, and if you have sensitive skin, consult a professional before attempting brow lamination at home.
Key Points:
- Follow instructions carefully and do a patch test
- Avoid leaving solutions on too long
- Consult a professional if you have sensitive skin
