Are you considering attempting a DIY lash lift at home? Before you immerse yourself in this beauty trend, there are essential factors to ponder beyond just the allure of fluttery lashes. Understanding the process’s intricacies and navigating potential pitfalls can make all the difference in achieving stunning results. So, how can you guarantee a successful lash lift experience that leaves you feeling confident and fabulous?
Key Takeaways
- Achieve salon-quality lash lift results at home with cost-effective DIY kits.
- It lasts 6-8 weeks, providing up to 15 applications per kit.
- Essential tools include glue, solutions, applicators, spoilers, and mascara wands.
- Follow step-by-step instructions and safety precautions for optimal results.
- Tips for long-lasting results include proper care, daily serum application, and avoiding water for 24 hours.
Benefits of DIY Lash Lift
Experience the convenience and cost-effectiveness of achieving salon-quality lash lift results at home with a DIY kit. This at-home solution offers professional results that instantly leave you with long-lasting, fuller, and longer lashes post-treatment.
Priced at just £20.99, this DIY kit is a cost-effective option. It provides up to 15 applications, saving you money and time in the long run. You can maintain beautiful eyes with minimal effort as the lash lift lasts 6-8 weeks.
Join over 97,000 satisfied customers who trust this product for its easy-to-use application and remarkable outcomes. Say goodbye to expensive salon visits and hello to a DIY lash lift that enhances your natural lashes and fits seamlessly into your busy schedule. Get ready to enjoy the benefits of a professional lash lift in the comfort of your own home.
Essential Tools for Lash Lift
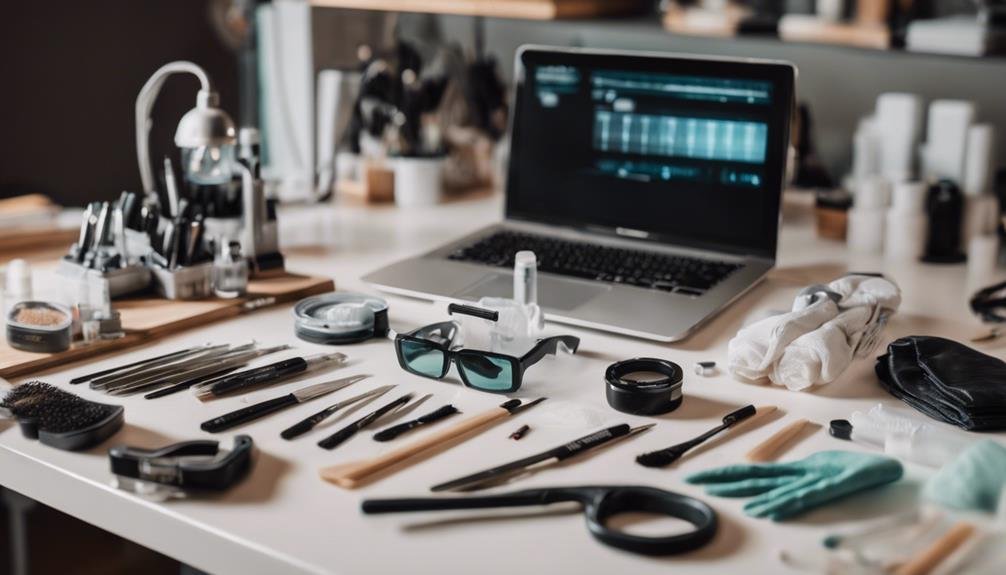
For a successful DIY lash lift, ensure you have the necessary tools, such as glue for fixing lash lift pads, perm solution, fixation solution, applicators, spoolies, mascara wands, cling film, and cotton buds. Lash lift pads are essential for holding the lashes in place during lifting.
The perm solution curls the lashes, while the fixation solution sets the curl in place. Applicators aid in applying the solutions precisely; spoolers help separate and comb the lashes, and mascara wands ensure they’re evenly distributed. Cling film is used to control solution timing and maximize results.
Cotton buds are handy for cleaning up excess solutions or glue, ensuring a neat and professional finish. Utilizing these tools correctly, following instructions meticulously, and practicing good application techniques are key to achieving stunning results with your at-home lash lift.
Step-by-Step Lash Lift Guide

Start by thoroughly cleansing your eyelashes to guarantee that no oils or residues could affect the lifting process. With your DIY Lash Lift Kit ready, perform a patch test of each liquid to ensure they won’t cause any adverse reactions. Won’t you’re all set: your essentials, too: cotton buds, cling film, and a clean mascara wand for precise application. Remember, treating both eyes simultaneously is important to prevent any mishaps.
Watch YouTube tutorials for additional tips and visual guidance on achieving a professional lash lift at home. Follow the step-by-step instructions provided in the kit for an easy-to-follow process. Apply a small amount of the perm solution to your lashes, ensuring you cover each one evenly. This will help you achieve a natural curl and long-lasting results. Enjoy the process and admire your beautifully lifted lashes!
Tips for Long-Lasting Results
Proper care and maintenance are key to guaranteeing your lash lift results for an extended period.
After your first DIY lash lift, to ensure long-lasting results, avoid using an eyelash curler for the initial 24-48 hours to let the lift set properly.
When using the lift pad for the first time, lift your lashes correctly without discomfort.
For enduring results, apply the provided No.3 care serum daily to keep your lashes nourished and maintain the lift.
To make the most of your DIY lash lift, avoid getting your lashes wet for the first 24 hours after treatment.
Safety Precautions for Lash Lifts
Make sure to prioritize safety when conducting a DIY lash lift by being aware of important precautions to prevent potential risks or complications. Here are essential safety measures to keep in mind:
- Avoid Certain Eye Conditions: To prevent adverse reactions, avoid performing a DIY lash lift if you have specific eye conditions or have recently undergone chemotherapy.
- Use Correct Lash Pad Size: The appropriate size of the lash pad is essential for a safe and successful DIY lash lift. This ensures the lashes are properly lifted and curled without causing any harm.
- Proper Application of Fixation: To maintain safety, it’s important to apply the fixatiit’s and and perm lotion accurately during the process. Overworking the lashes or incorrectly applying these solutions can lead to unwanted results or potential harm.
Conclusion
Now that you have all the tools and knowledge needed for a successful DIY lash lift, you can enjoy salon-quality results from your home.
You can achieve long-lasting and beautiful lashes by following the step-by-step guide, using the essential tools provided in the kit, and taking necessary safety precautions.
Remember to prioritize care and maintenance to keep your lashes looking their best for weeks.
Happy lifting!
FAQs
What is a DIY lash lift, and how does it work?
A DIY lash lift involves curling and lifting your natural lashes at home using a lash lift kit. The procedure consists in applying a perming solution to your lashes, which helps them hold a lifted, curled shape for several weeks. The process typically includes silicone pads to mold the lashes and a setting solution to lock in the curl. It’s a popular alternative to lashIt’sensions, offering a more natural look with less maintenance.
Steps Involved:
- Perming Solution: Applied to lift and curl the lashes.
- Setting Solution: Locks in the curl for long-lasting results.
What are the benefits of doing a lash lift at home?
Doing a lash lift at home offers several benefits, including cost savings and convenience. You can achieve professional-looking results without the expense of a salon visit. Additionally, a DIY lash lift allows you to customize the process to suit your preferences and schedule. The results can last 6-8 weeks with proper technique, providing beautifully curled lashes with minimal effort.
Benefits:
- Cost-Effective: Saves money compared to salon treatments.
- Convenience: Perform the lift on your schedule.
- Long-Lasting: Results typically last 6-8 weeks.
Are there any risks or precautions to consider with a DIY lash lift?
While DIY lash lifts can be safe when done correctly, some risks should be considered. It’s crucial to follow the instrucIt’ss carefully and perform a patch test before applying any solutions to your lashes. Using improper techniques or leaving the perming solution too long can lead to damaged or brittle lashes. Always use high-quality products designed for lash lifts, and avoid contact with your eyes to prevent irritation.
Precautions:
- Patch Test: Ensure you’re not allergic to the productyou’reper Technique: Follow instructions to avoid lash damage.
- Eye Safety: Avoid getting the solution in your eyes.
